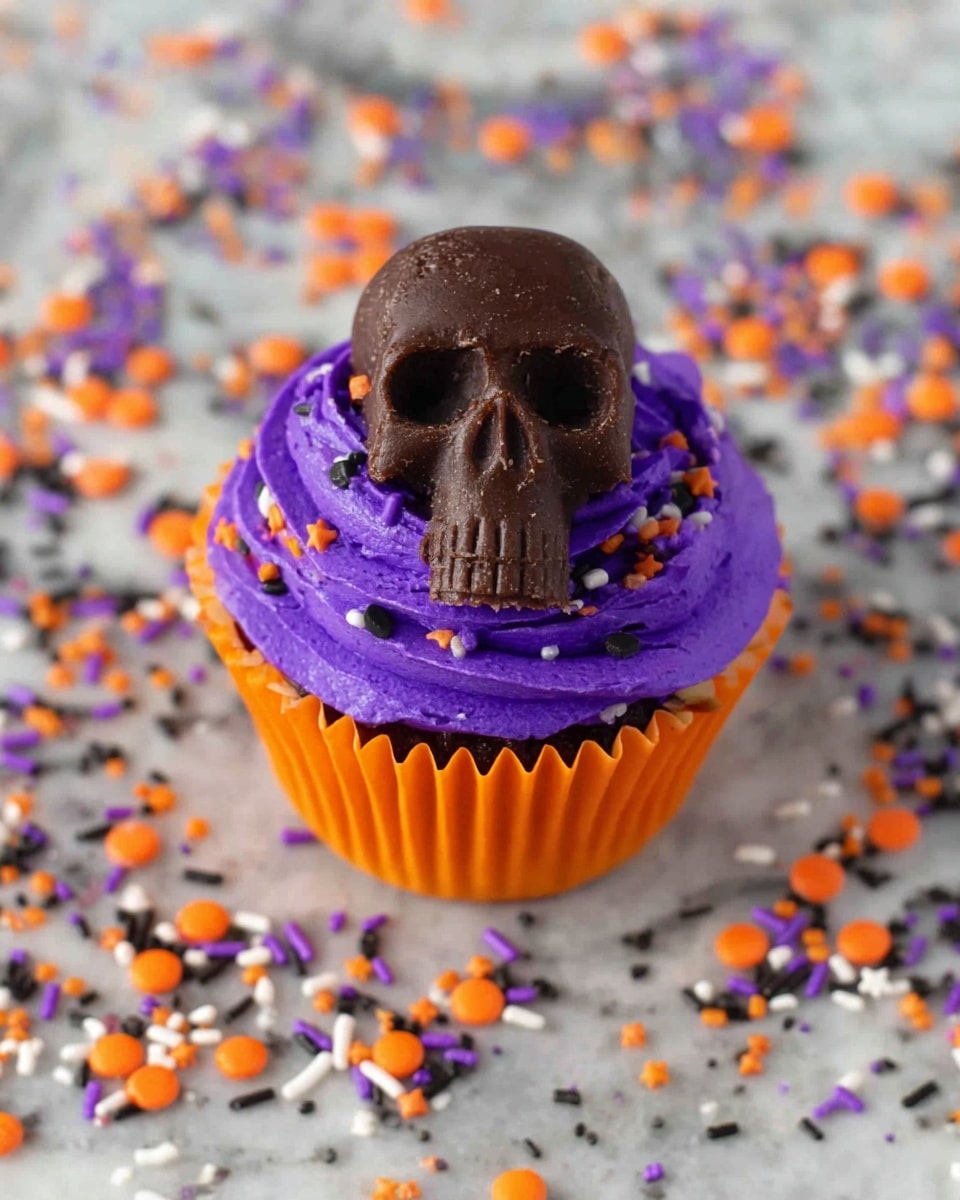
If you’re looking to throw a spooktacular party or just want a fun, festive treat that’ll have everyone talking, you’ve got to try this Halloween Skull Cupcakes Recipe. I absolutely love how these cupcakes combine simple baking basics with a wickedly cool twist thanks to Butterfinger Peanut Butter Cup Skulls on top. They’re super easy to make, look amazing on any Halloween table, and best of all—taste downright delicious. Trust me, once you try this recipe, your friends will be clamoring for it year after year!
Why You’ll Love This Recipe
- Simplicity Meets Style: You can whip these cupcakes up with a box mix and ready-made frosting, but they look like you spent hours decorating.
- Fun & Festive: The skull-shaped Butterfingers add the perfect spooky vibe that’s super kid-friendly and grown-up delicious.
- Customizable: You can easily swap frosting colors and sprinkles to suit your Halloween theme, making it a versatile go-to.
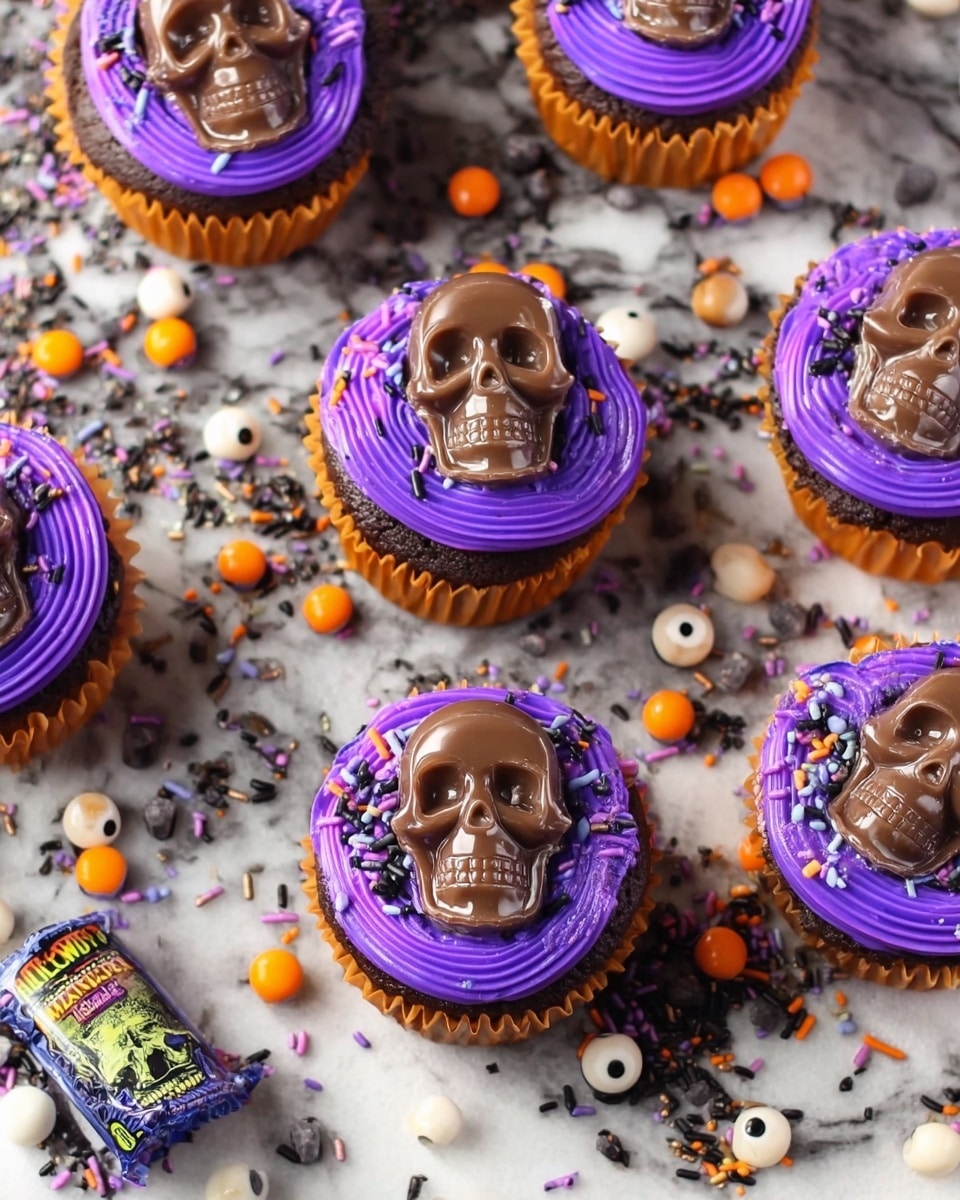
- Crowd-Pleaser: Whether it’s a classroom party or a Halloween bash, these cupcakes disappear fast!

Ingredients You’ll Need
These ingredients come together to give you a moist cupcake with creamy frosting and a crunchy, peanut-buttery skull right on top. I love using a box cake mix for ease, but you can certainly bake from scratch if you prefer. Ready-to-use vanilla buttercream frosting saves time and gets a smooth, consistent look. The purple gel coloring and sprinkles give that fun Halloween pop!
- Cake Mix: Pick your favorite flavor—vanilla, chocolate, or something spooky like red velvet; just follow package instructions.
- Vanilla Buttercream Frosting: Pre-made tubs are perfect for quick decorating, plus they pipe beautifully if you want fancy swirls.
- Purple Color Gel: Gel coloring is best because it won’t thin your frosting; I like a deep purple for that eerie Halloween vibe.
- Sprinkles: Choose Halloween-themed ones or mix orange, black, and white for a festive touch—I mix it up every year!
- Butterfinger Peanut Butter Cup Skulls: These are the star of the show; their crunch and peanut butter flavor take the cupcakes next level.
Variations
I love how you can tweak this Halloween Skull Cupcakes Recipe to suit your Halloween mood or dietary needs without losing any of the fun. Personalize it with your go-to frosting colors or swap the peanut butter cups if you have allergies or preferences.
- Frosting Flavor Swap: I once tried cream cheese frosting tinted a ghostly green, and it was surprisingly delicious with the Butterfinger skulls.
- Dairy-Free Option: Use dairy-free cake mix and vegan frosting, and substitute the Butterfinger cups with allergen-free chocolate shapes for a safe twist.
- Extra Spooky Decoration: Add edible eyes or use black icing to draw cracks on the frosting around the skulls—I did this last year for a haunted vibe and it was a hit.
How to Make Halloween Skull Cupcakes Recipe
Step 1: Bake Your Cupcakes
Start by following the instructions on your favorite box cake mix. Use the ingredients it calls for—usually eggs, oil, and water—and mix until smooth. I like to line my muffin tin with festive cupcake liners to make cleanup easier. Bake as directed, but keep an eye close towards the end—you want the cupcakes to be moist but fully set. A toothpick inserted in the center should come out clean. Let them cool completely before decorating; frosting warm cupcakes will just melt your buttercream and cause a mess.
Step 2: Frost Your Cupcakes
Once cooled, it’s frosting time! I choose to tint my vanilla buttercream with purple gel color for that perfect Halloween look. You can do this by spooning frosting into a bowl and kneading the gel in until you reach your desired shade. Then either pipe the frosting with a star tip or spread it with a spatula for a smooth look. Both ways work great, so just go with what feels easiest for you. If you’re piping, a swirling motion starting from the outside edge inward looks lovely.
Step 3: Add Sprinkles and Skull Toppers
Next, decorate each cupcake with fun Halloween sprinkles—think bats, pumpkins, or just classic black and orange. Once you’ve added your sprinkles, place one Butterfinger Peanut Butter Cup Skull right in the center of each cupcake. This candy skull really steals the show and adds a satisfying crunch and peanut butter punch that contrasts beautifully with the soft cake and creamy frosting.
Step 4: Devour and Impress
Now for the best part—eating! These cupcakes are absolutely irresistible when freshly made, but I’ve noticed they also hold up well for a day or two if stored properly. They’re perfect for parties, school events, or a fun Halloween treat anytime.
Pro Tips for Making Halloween Skull Cupcakes Recipe
- Cool Completely Before Frosting: I learned the hard way that frosting warm cupcakes turns your buttercream runny—patience pays off here!
- Gel Color Over Liquid: Using gel food coloring means your frosting stays thick and perfect for piping or spreading—don’t dilute your frosting.
- Use Festive Liners: For extra fun, grab Halloween-themed liners to save decorating time and add more party spirit.
- Placement of Skulls: Place the Butterfinger skull gently after frosting and sprinkles are set to avoid smushing your design.
How to Serve Halloween Skull Cupcakes Recipe
Garnishes
Besides the Butterfinger peanut butter skulls, I like adding a sprinkle mix of tiny edible bats or crushed candy corn for a festive crunch. Sometimes I dust the edges of the frosting lightly with edible glitter for a little spooky shimmer that kids adore.
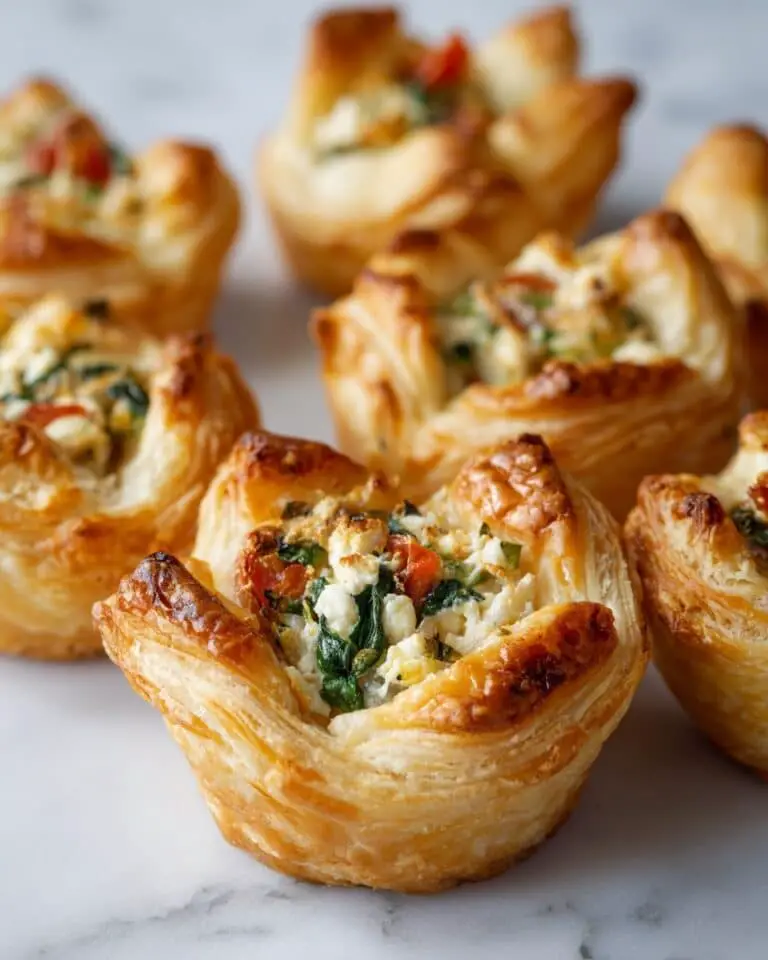
Side Dishes
Since these cupcakes are rich and sweet, I often serve them alongside lighter snacks like fresh apple slices or a simple fruit salad with pomegranate seeds to keep the palate balanced at Halloween parties.
Creative Ways to Present
For a showstopper, arrange your Halloween Skull Cupcakes Recipe on a tiered stand decorated with fake cobwebs and plastic spiders. One year I baked mini cupcakes and turned them into a “skull bouquet” by sticking them on decorated skewers inside a pumpkin vase—talk about a conversation starter!
Make Ahead and Storage
Storing Leftovers
Leftover cupcakes keep best in an airtight container in the fridge. I like to store them in a single layer to keep the frosting from getting smooshed. Before serving, letting them come to room temperature really brings back that soft texture and creamy frosting experience.
Freezing
I’ve frozen unfrosted cupcakes successfully before—just wrap each cupcake tightly in plastic wrap then place in a freezer-safe container. When ready, thaw overnight in the fridge, then frost before serving to keep everything fresh and fluffy.
Reheating
Since these are cupcakes with frosting, I usually don’t reheat after frosting, but if you want to warm just the cupcake base, zap it briefly (about 10 seconds) in the microwave before frosting to get that fresh-baked warmth.
FAQs
-
Can I make the Halloween Skull Cupcakes Recipe dairy-free?
Absolutely! Swap out your cake mix for a dairy-free version and choose a vegan buttercream frosting. Since Butterfinger Peanut Butter Cup Skulls contain dairy, you can replace them with a dairy-free chocolate decoration or other allergy-safe Halloween candies.
-
How far ahead can I make these cupcakes?
You can bake the cupcakes up to 2 days in advance. It’s best to frost them the day you plan to serve for the freshest look and taste. If you frost early, store them in an airtight container in the fridge.
-
What if I can’t find Butterfinger Peanut Butter Cup Skulls?
No worries! Use any small skull-shaped candies, peanut butter cups, or even chocolate pieces shaped and decorated in a spooky way. The key is to have that skull centerpiece for the Halloween vibe.
-
Can I use homemade frosting instead of store-bought?
Definitely! I sometimes make my own vanilla buttercream when I have time—it tastes amazing and lets you control sugar and texture perfectly. Just be sure your frosting is thick enough for decorating without melting.
-
How do I get the frosting perfectly purple without it being too runny?
Use gel food coloring instead of liquid—it gives vibrant color without changing frosting consistency. Add a little at a time, mix well, and you’ll get the perfect Halloween purple every time!
Final Thoughts
This Halloween Skull Cupcakes Recipe has become a favorite in my circle because it’s simple, festive, and just downright fun to make and eat. I love how the Butterfinger skulls add a crunchy surprise and spooky charm that’s sure to impress guests of all ages. Whether you’re a baking newbie or a pro looking for an easy centerpiece, this recipe hits all the right notes. So go ahead—grab your ingredients, get creative with your frosting, and treat yourself to some Halloween magic in cupcake form. Can’t wait for you to try it and love it as much as I do!
Print
Halloween Skull Cupcakes Recipe
- Prep Time: 15 minutes
- Cook Time: 25 minutes
- Total Time: 40 minutes
- Yield: 24 cupcakes
- Category: Dessert
- Method: Baking
- Cuisine: American
Description
These Halloween Skull Cupcakes are a festive and delicious treat perfect for Halloween celebrations. Featuring your favorite cake mix, vanilla buttercream frosting dyed with purple gel, colorful sprinkles, and topped with spooky Butterfinger Peanut Butter Cup Skulls, these cupcakes bring together easy preparation with eye-catching decoration for a fun and tasty party dessert.
Ingredients
Cake
- 1 box of your favorite Cake Mix (as per box instructions)
Frosting
- 3 tubs of Vanilla Buttercream Frosting
- Color Gel – Purple (to tint frosting)
Toppings
- Sprinkles (as desired)
- 1 – 10.8 ounce bag of Butterfinger Peanut Butter Cup Skulls (24 pieces)
Instructions
- Prepare Cupcakes: Make the cupcakes according to the instructions on your cake mix box, using the ingredients specified there. Once baked, allow the cupcakes to cool completely before frosting.
- Color Frosting: Using the purple color gel, tint the vanilla buttercream frosting to your preferred shade of purple. Mix thoroughly to achieve an even color.
- Frost Cupcakes: Frost the cooled cupcakes by either piping the purple buttercream on top or spreading it using a knife or frosting spatula for a smooth finish.
- Add Sprinkles: Decorate the frosted cupcakes by sprinkling colorful sprinkles evenly over the top for added texture and festive flair.
- Top with Skull Candy: Place one Butterfinger Peanut Butter Cup Skull candy in the center of each cupcake as a spooky and delicious topper.
- Serve and Enjoy: The cupcakes are now ready to be devoured and enjoyed at your Halloween bash!
Notes
- These Halloween Skull Cupcakes bring a fun twist by using Butterfinger Peanut Butter Cup Skulls as the standout decoration, perfect for a Halloween party.
- You can customize the color of your buttercream frosting with any gel color to match your Halloween theme.
- Feel free to experiment with different types of sprinkles for more personalized festive flair.
- Ensure the cupcakes are fully cooled before frosting to prevent melting or sliding of the buttercream.
Nutrition
- Serving Size: 1 cupcake
- Calories: 320
- Sugar: 25g
- Sodium: 180mg
- Fat: 18g
- Saturated Fat: 7g
- Unsaturated Fat: 9g
- Trans Fat: 0g
- Carbohydrates: 38g
- Fiber: 1g
- Protein: 3g
- Cholesterol: 40mg
