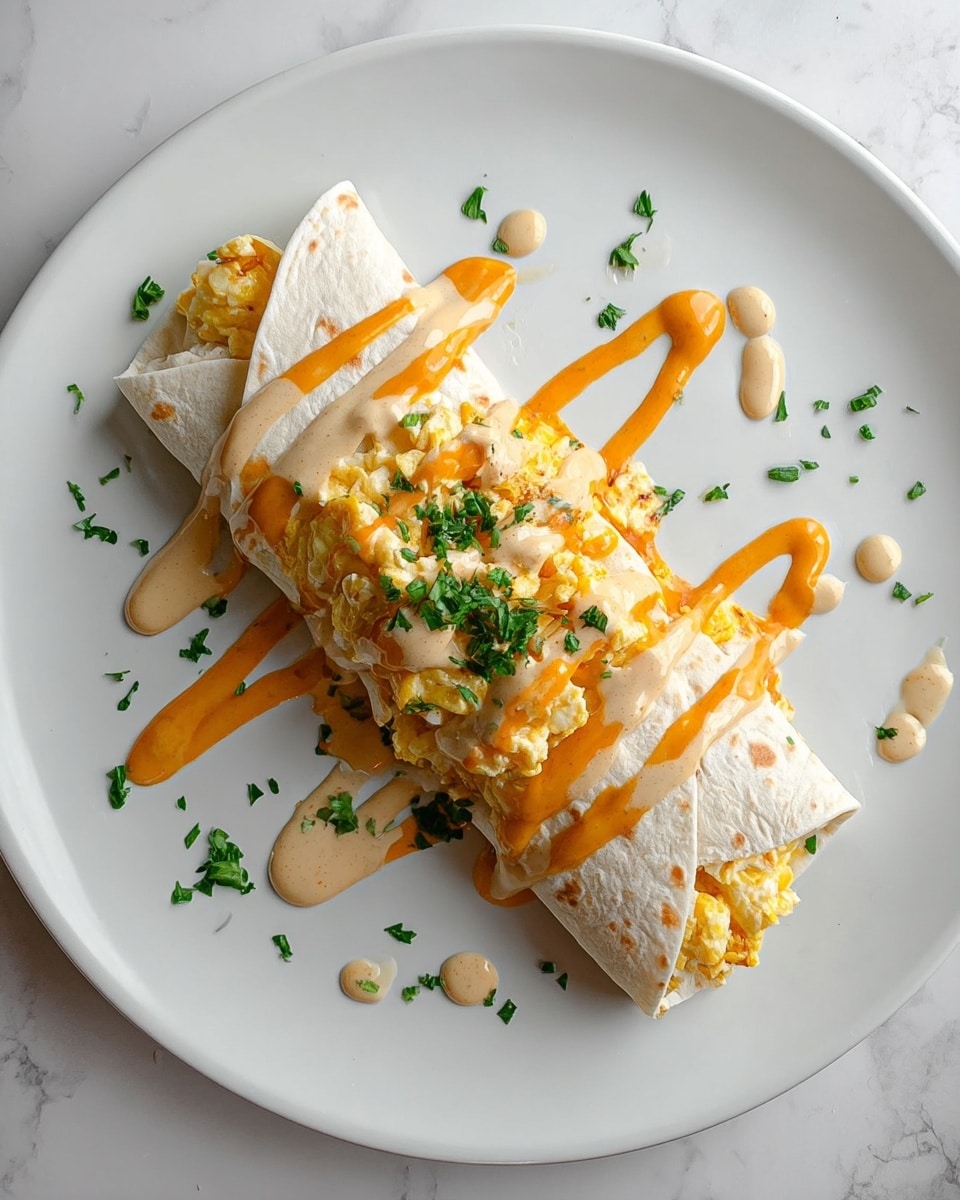
I absolutely love sharing this Cheesy Garlic Chicken Wraps Recipe because it’s one of those quick and comforting meals that somehow feels both indulgent and wholesome. When I first tried whipping up these wraps, I was blown away by how melty, garlicky, and perfectly cheesy each bite was — and yet it all comes together in under 30 minutes! Whether you’re feeding a busy family or craving something cozy after a long day, these wraps hit the sweet spot between fast and flavorful.
What makes this Cheesy Garlic Chicken Wraps Recipe really stand out is the creamy chicken filling paired with that crispy, golden tortilla shell. I find it’s not only great for weeknight dinners but also fantastic for meal prep lunches or even a fun game day snack. Trust me, once you try these, you’ll want to keep the ingredients handy for whenever hunger strikes!
Why You’ll Love This Recipe
- Quick and Easy: Ready in under 30 minutes, perfect for busy days when you want delicious without the hassle.
- Flavor-Packed: The blend of creamy cheese, sharp cheddar, and fresh garlic creates a mouthwatering filling you’ll crave.
- Versatile and Customizable: You can easily swap in your favorite cheese or herbs to suit your taste or dietary needs.
- Perfect for Any Meal: Makes a satisfying lunch, a cozy dinner, or even a handy snack for on-the-go.

Ingredients You’ll Need
The ingredients for these wraps come together beautifully — creamy, cheesy, and garlicky filling paired with soft tortillas that toast up crisp and satisfying. I love using fresh garlic and parsley when possible, but dried options work great too if that’s what you have on hand.
- Cooked chicken: You can use leftover roast chicken, grilled chicken, or even store-bought rotisserie for an effortless shortcut.
- Cream cheese: Softened cream cheese creates that luscious creamy texture in the filling.
- Shredded cheddar cheese: Sharp cheddar gives a robust cheesy punch that balances the creaminess.
- Minced garlic: Fresh garlic really elevates the flavor, but garlic powder can work in a pinch.
- Onion powder: Adds a subtle savoriness without overpowering the mix.
- Black pepper: Freshly ground is best to bring mild heat and depth.
- Large tortillas: Flour tortillas are my go-to for wrapping; they toast beautifully and hold the filling well.
- Fresh parsley (optional): A pop of fresh herbs brightens the filling and adds color.
- Olive oil or butter: For toasting — butter adds richness, olive oil lends a lighter crisp.
Variations
One of the reasons I keep coming back to this Cheesy Garlic Chicken Wraps Recipe is how easy it is to make it your own. Whether you want to punch up the spice or lighten it up, adapting it is a breeze, so don’t hesitate to get creative with the basics.
- Spicy Kick: I love adding a pinch of crushed red pepper flakes or a drizzle of sriracha for a little heat that wakes up the flavors.
- Different Cheeses: Swap cheddar for mozzarella or pepper jack if you want a milder or spicier melt.
- Vegetarian Option: Replace chicken with sautéed mushrooms or roasted veggies and add extra garlic for punch.
- Herb Swap: Try cilantro, basil, or chives instead of parsley for a fresh twist that suits your mood.
How to Make Cheesy Garlic Chicken Wraps Recipe
Step 1: Prepare That Creamy Filling
Grab a mixing bowl and combine your cooked chicken, softened cream cheese, shredded cheddar, minced garlic, onion powder, black pepper, and if you’re using it, chopped fresh parsley. Stir everything until it’s well mixed and the cream cheese has evenly coated the chicken — that creaminess is key to the texture. I like to taste a little bit to adjust seasoning here, especially for pepper or garlic intensity.
Step 2: Assemble Your Wraps
Lay out a large tortilla on a flat surface and spoon a generous portion of the cheesy chicken filling right in the center. Spread it out a bit, but make sure to leave a couple of inches around the edges so the filling doesn’t spill when you roll. Fold the sides of the tortilla in first, then roll it tightly from one end to the other, keeping everything snug. This rolling method keeps your filling secure during cooking.
Step 3: Toast to Golden Perfection
Heat olive oil or butter in a non-stick skillet over medium heat — this ensures a crispy outside and melted insides. Place your wraps seam-side down in the pan first; this seals them. Cook for about 2-3 minutes on that side until you see a beautiful golden crust, then carefully flip and toast the other side for 2 more minutes. Keep an eye on the heat — too hot and the tortilla can burn before the cheese melts!
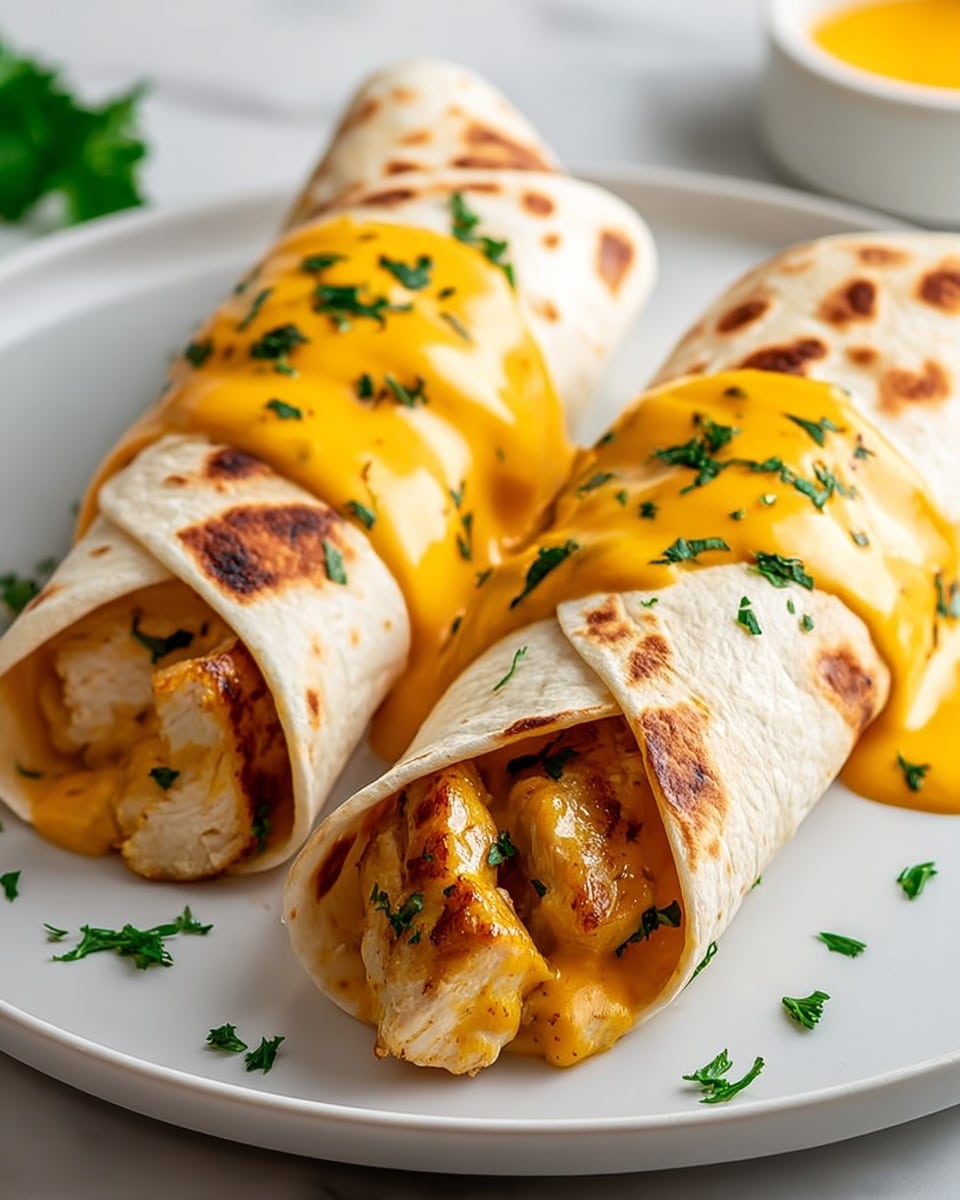
Step 4: Slice, Serve, and Enjoy
Remove the wraps from the pan and let them sit for a minute or two — this helps the filling set so it doesn’t ooze out when sliced. Then slice each wrap in half diagonally to showcase the melty, cheesy goodness within. Serve warm with your favorite dipping sauce or a simple side salad to round out the meal.
Pro Tips for Making Cheesy Garlic Chicken Wraps Recipe
- Use Warm Chicken: I always warm leftover chicken first for easier mixing and better texture in the filling.
- Don’t Skip Softening Cream Cheese: This little step makes the mixture smooth and blend effortlessly with the chicken and cheese.
- Seal Your Wrap Well: Toasting seam-side down first locks the wrap closed so filling won’t leak during cooking.
- Control Your Heat: Medium heat to toast evenly — too high, and the tortilla burns before filling melts.
How to Serve Cheesy Garlic Chicken Wraps Recipe
Garnishes
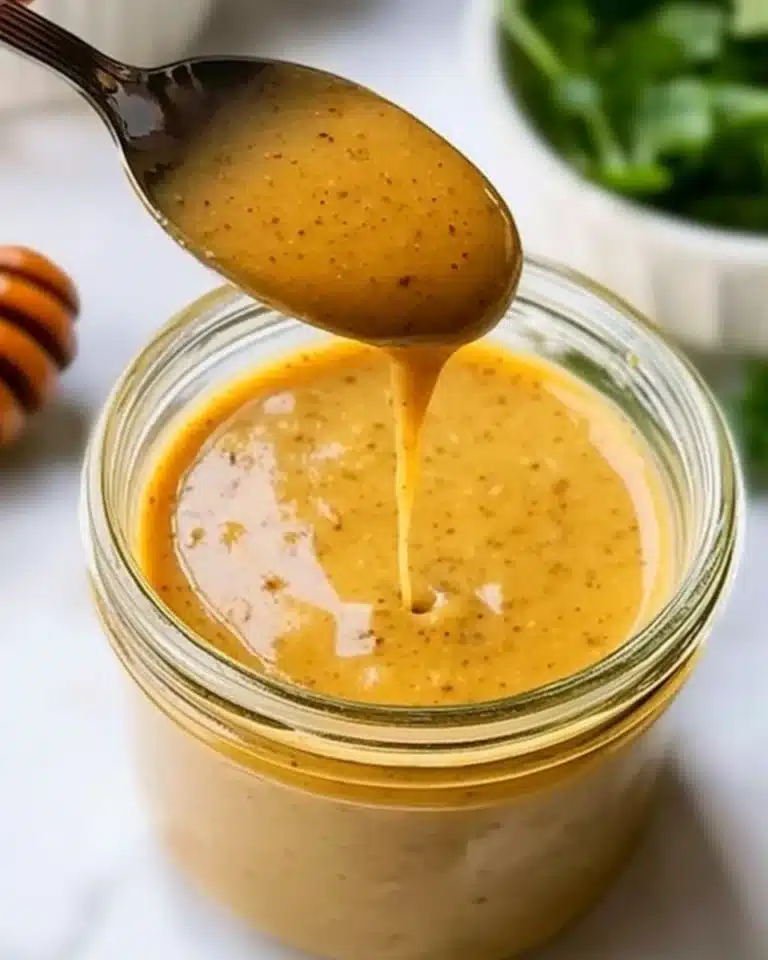
I love topping my wraps with a sprinkle of extra fresh parsley or chopped green onions for a bright, fresh pop of color and flavor. A little drizzle of ranch or a dollop of sour cream on the side also pairs beautifully—makes it feel extra special and adds creaminess.
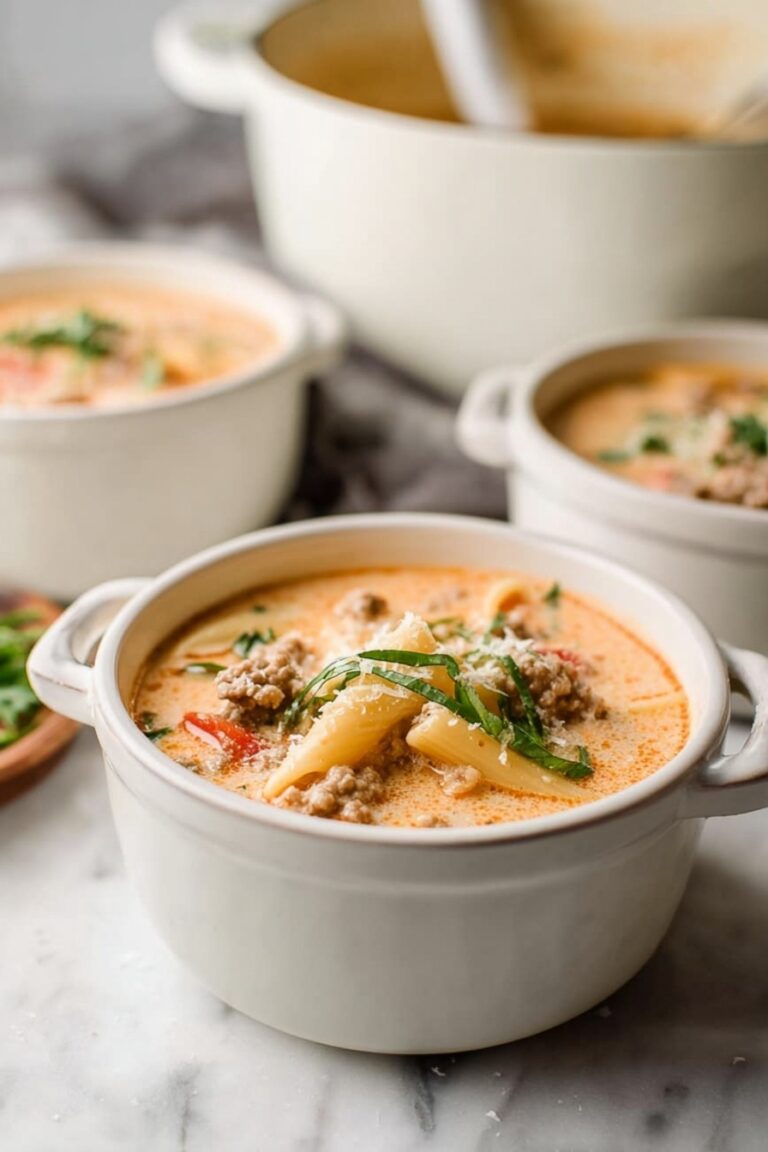
Side Dishes
My go-to sides are a crisp garden salad or some crunchy carrot sticks for balance. Another favorite is serving these wraps alongside a cup of warm tomato soup or your favorite salsa for dipping—it turns the meal into a full cozy feast.
Creative Ways to Present
For casual gatherings, I slice the wraps into smaller pinwheels — they’re perfect finger foods! Or you can cut them into quarters, stack on a platter, and scatter with herbs and a sprinkle of cheese for a festive spread. They’re always a hit whether it’s a weeknight dinner or an impromptu party.
Make Ahead and Storage
Storing Leftovers
I wrap leftover Cheesy Garlic Chicken Wraps tightly in foil or plastic wrap and pop them in the fridge for up to 3 days. I’ve found storing them this way keeps the tortilla from getting too soggy. Just remember to re-toast or warm gently before enjoying again.
Freezing
If you want to make these ahead for busy weeks, freezing works like a charm! Wrap each cooled wrap tightly in plastic wrap and then foil to protect from freezer burn. They’ll keep well for about 2 months. When ready to eat, thaw overnight in the fridge and then re-toast in a pan or oven for best texture.
Reheating
I prefer reheating these wraps in a skillet over medium heat to revive that crisp outside and melty inside. Microwaving works in a pinch but can make the tortilla a bit chewy. A quick 3-5 minute toast in a pan or even a toaster oven brings back that fresh-cooked magic.
FAQs
-
Can I use raw chicken for this Cheesy Garlic Chicken Wraps Recipe?
This recipe calls for cooked chicken to keep things quick and easy. If you want to start with raw chicken, be sure to fully cook it first, shredding or dicing before mixing with the cheese and spices.
-
What type of tortilla works best for these wraps?
Large flour tortillas are ideal because they’re pliable enough to wrap tightly and toast well without cracking. Whole wheat tortillas can work too if you prefer a heartier wrap.
-
Can I make these wraps dairy-free?
Absolutely! Swap cream cheese for a dairy-free alternative like cashew cream cheese, and use a plant-based shredded cheese. Just keep in mind the texture and melt may vary slightly.
-
How do I prevent the filling from leaking out when cooking?
Make sure to fold the sides in tightly and roll the wrap snugly. Toasting seam-side down first seals it securely. Avoid overfilling, leaving enough room around the edges.
Final Thoughts
Honestly, this Cheesy Garlic Chicken Wraps Recipe has become one of my kitchen staples because it’s reliable, satisfying, and endlessly adaptable. It’s the kind of recipe I recommend to friends when they want something quick but totally delicious without needing a lot of fuss. Give it a try—you might just find yourself making these wraps over and over like I do, always playing with new flavors and sides to keep it fresh!
Print
Cheesy Garlic Chicken Wraps Recipe
- Prep Time: 10 minutes
- Cook Time: 10 minutes
- Total Time: 20 minutes
- Yield: 4 wraps
- Category: Lunch
- Method: Frying
- Cuisine: American
Description
Delicious and easy-to-make Cheesy Garlic Chicken Wraps loaded with tender cooked chicken, creamy cream cheese, sharp cheddar, and aromatic garlic, all toasted to golden perfection for a satisfying meal or snack.
Ingredients
Filling
- 2 cups cooked chicken, diced or shredded
- 1/4 cup cream cheese, softened
- 1/2 cup shredded cheddar cheese
- 1 tsp minced garlic
- 1/2 tsp onion powder
- 1/4 tsp black pepper
- 2 tbsp chopped fresh parsley (optional)
Wraps
- 4 large tortillas
- 1 tbsp olive oil or butter, for toasting
Instructions
- Prepare the Filling: In a mixing bowl, combine the cooked chicken, cream cheese, shredded cheddar cheese, minced garlic, onion powder, black pepper, and chopped fresh parsley if using. Mix thoroughly until all ingredients are well blended and the mixture is creamy.
- Assemble the Wraps: Lay one tortilla flat on a clean surface. Spoon a generous amount of the chicken and cheese mixture onto the center of the tortilla. Spread the filling slightly but leave some space around the edges. Fold in the sides of the tortilla and then roll it tightly into a wrap to enclose the filling completely.
- Toast the Wraps: Heat olive oil or butter in a non-stick skillet over medium heat. Once hot, place each wrap seam-side down in the skillet. Cook for 2 to 3 minutes until the underside is golden brown and crispy. Carefully flip each wrap using a spatula and toast the other side for an additional 2 minutes or until golden and heated through.
- Serve and Enjoy: Remove the toasted wraps from the skillet and let them cool briefly before slicing each wrap in half. Serve warm on their own or paired with a fresh salad or your favorite dipping sauce for a complete meal.
Notes
- Use leftover cooked chicken or rotisserie chicken for convenience.
- Feel free to customize the cheese with mozzarella or pepper jack for different flavors.
- Fresh parsley is optional but adds a nice brightness to the filling.
- For extra crispiness, press the wraps lightly with a spatula while toasting.
- Wraps can be kept warm in a low oven if making multiple batches.
Nutrition
- Serving Size: 1 wrap
- Calories: 350
- Sugar: 2g
- Sodium: 450mg
- Fat: 18g
- Saturated Fat: 8g
- Unsaturated Fat: 8g
- Trans Fat: 0g
- Carbohydrates: 28g
- Fiber: 2g
- Protein: 25g
- Cholesterol: 75mg

